Pressing flowers and herbs – a simple project
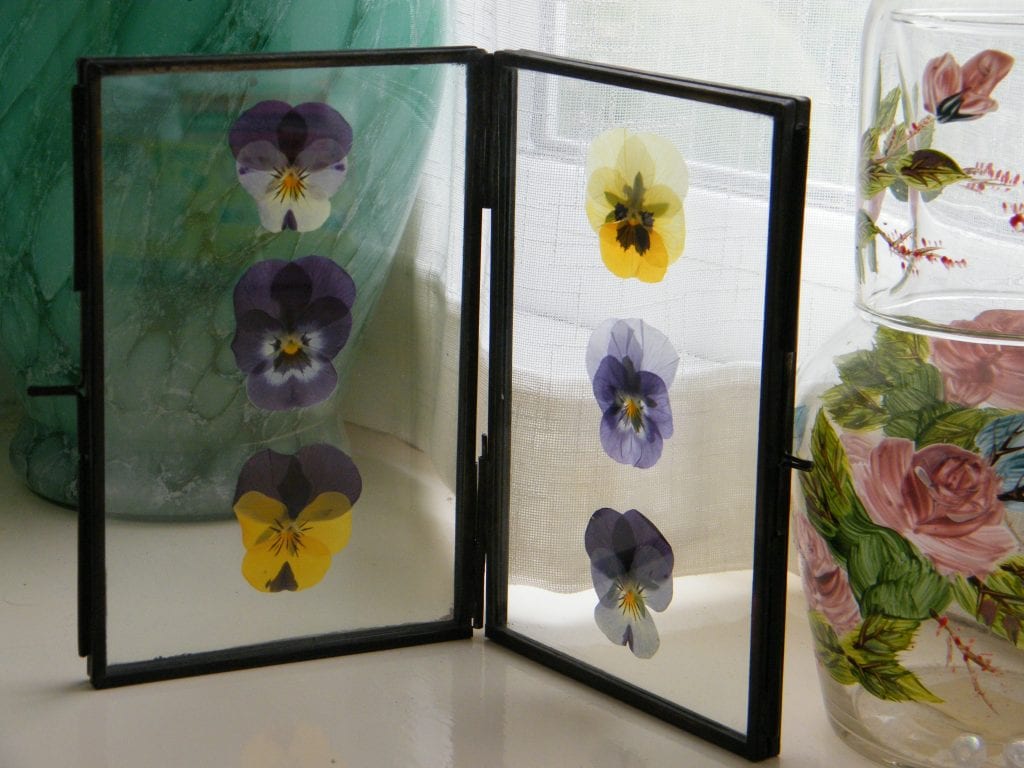
Preserve your garden’s beauty year round! Most of us have had experience pressing flowers as children. It can be a very relaxing hobby as an adult, with many potential projects including pressed flower jewellery and wall art, and even pressed flower mobile phone cases.
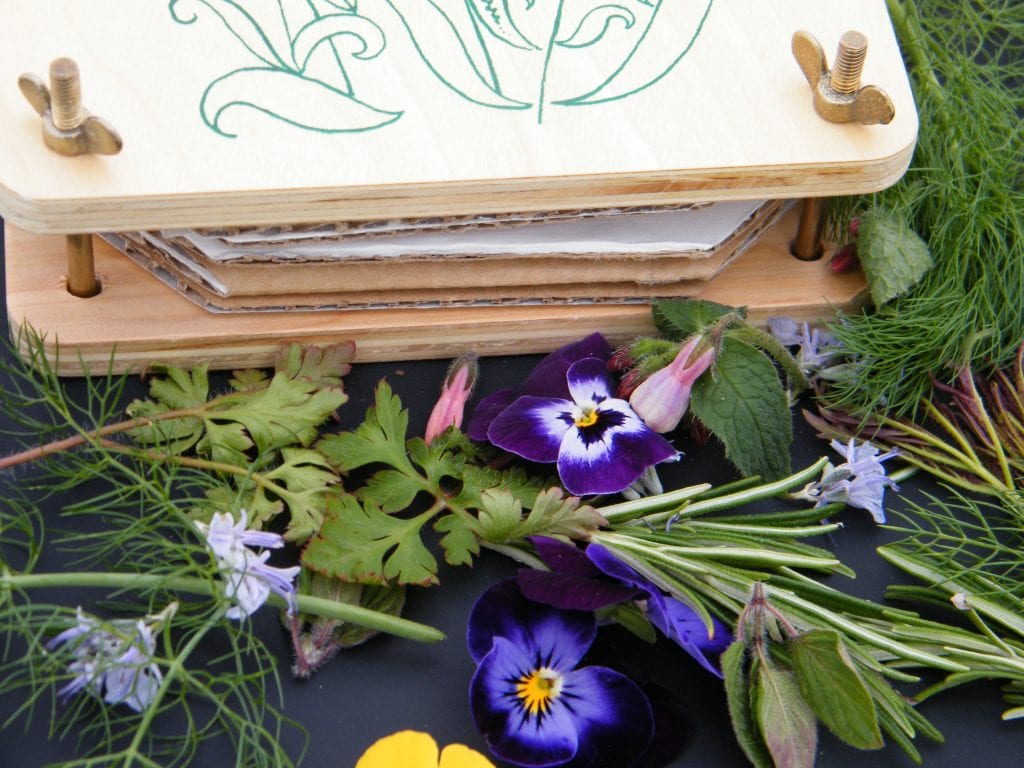
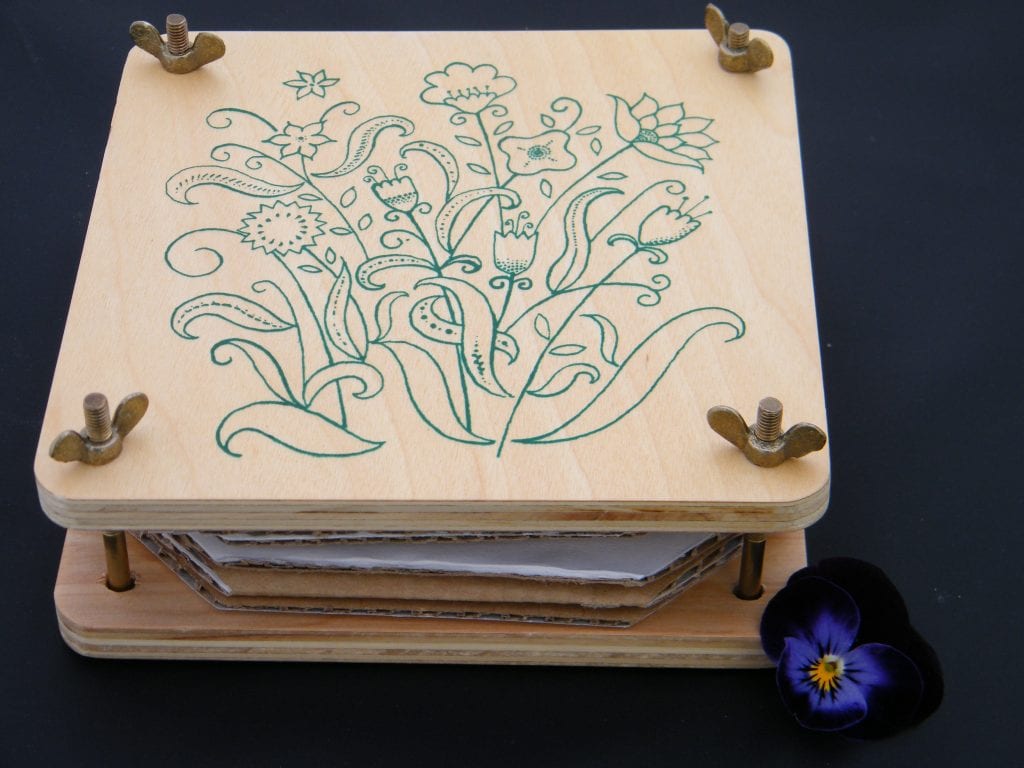
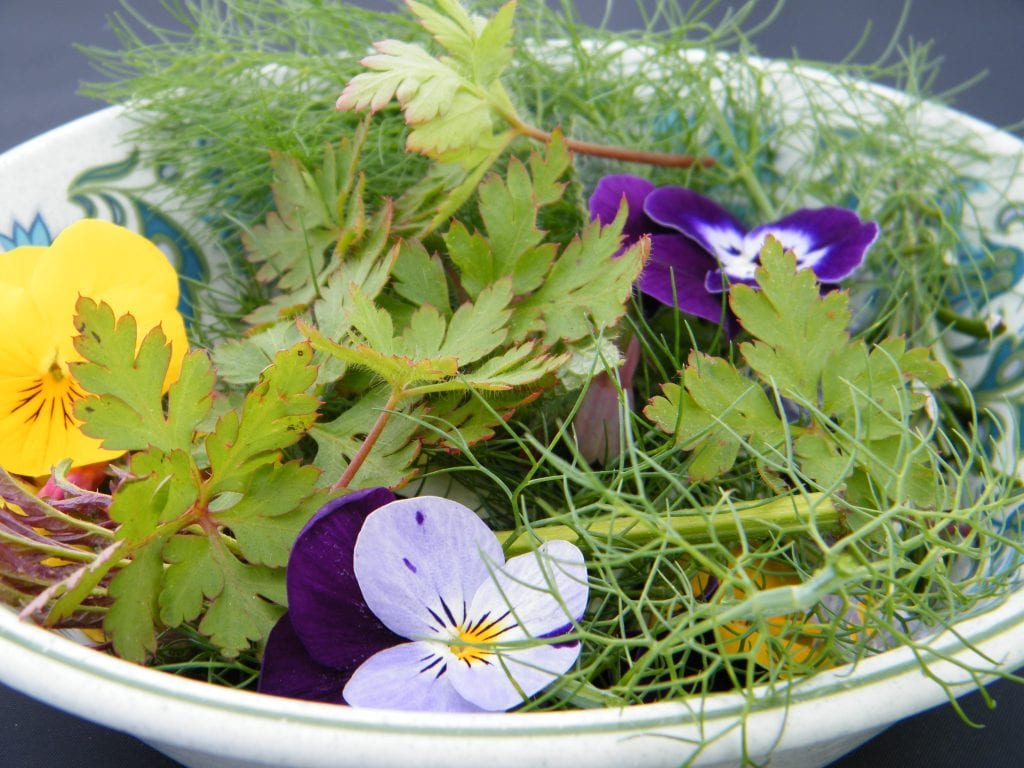
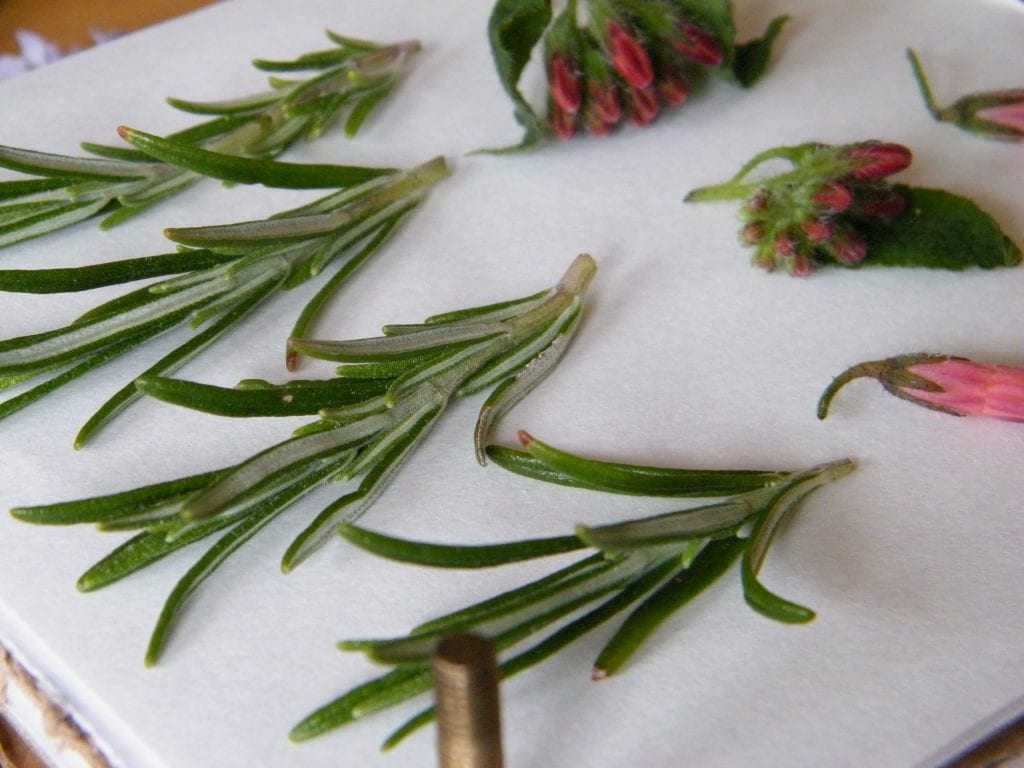
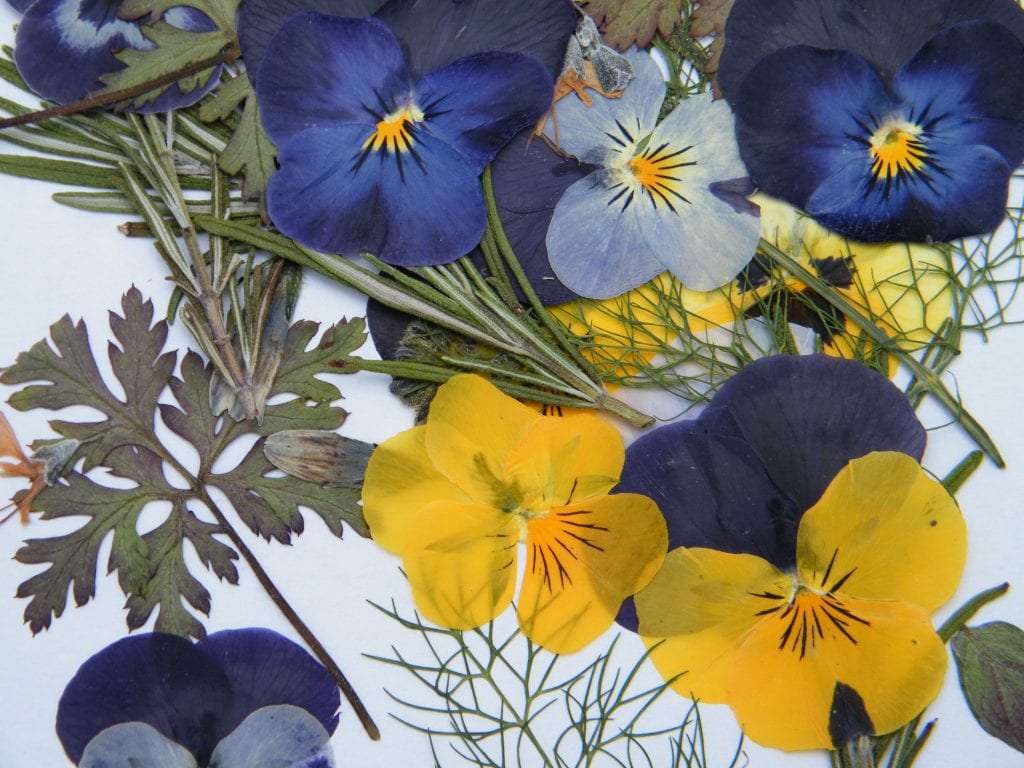
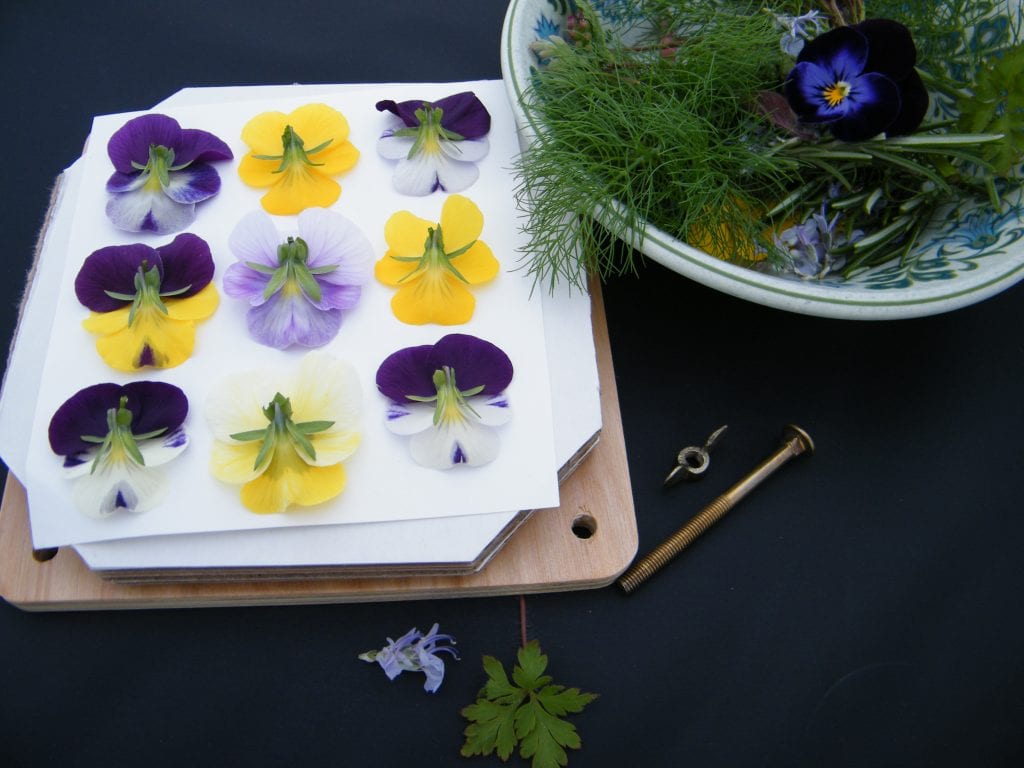
I have a little hobby flower press with layers of cardboard interlaced with blotting paper. The flowers I used for this project included viola, comfrey and rosemary flowers, and herb leaves included marjoram, rosemary, herb robert and fennel. If you’re not sure whether a flower or leaf is worth pressing, give it go!
Basic flower pressing method
Pick your blooms and leaves in the morning while they’re at their freshest, and layer them up in the press. Place the flowers onto a layer of blotting paper, cover with more blotting paper then card, and put down a new layer of blotting paper before starting again. Five or six layers can be achieved this way in a single press. Tighten the nuts on the corners and leave for at least a week before opening. Check the flowers are fully dry before removing – some may need up to six weeks.
Tips for pressing flowers
- Most people will know that if you haven’t got a flower-press, a book or telephone directory can be equally good. Use blotting paper between the pages though, for the best results, and to avoid marking the book. Stack up a few books on top to add weight.
- Kitchen roll can be used instead of blotting paper, but avoid heavily embossed patterns in case you end up with patterned petals!
- Check flowers and leaves for marks, discolouration and insect damage before you start, because any imperfection will only be made worse by the drying process.
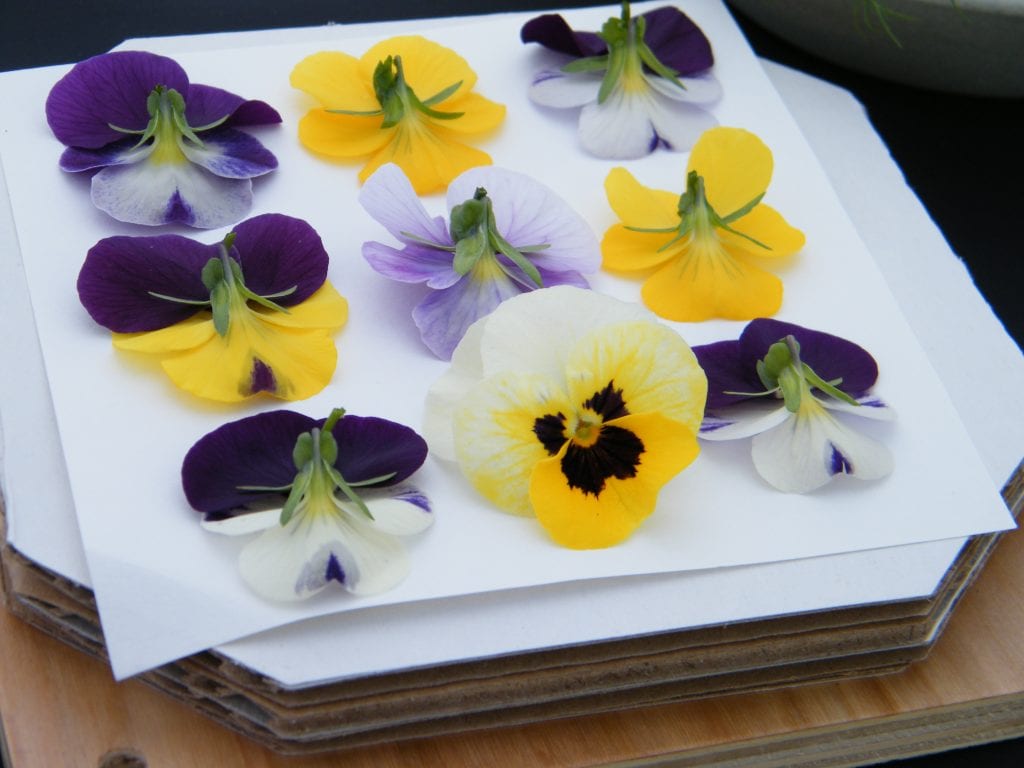
- Place flowers face down on the paper. This way they are more likely to stay in place as you close the press.
- Press similar flowers and leaves together in the same layer. For example viola flowers are delicate, so are best kept separate from thicker items like rosemary leaves.
- Use absorbent card between the layers of blotting paper. If your press comes with glossy card, replace it with corrugated or kraft cardboard.
- For best results store the press somewhere warm and dry while in use.
- Don’t be tempted to open the press early. Blooms pressed for only a day or two will be flat but not dry and are more likely to deteriorate. The longer you can leave them in place, the longer the colours will last.
- Experimentation is key – if something goes wrong the first time, learn from your mistakes and try again!
- PVA is the most commonly used glue for pressed flower projects as it doesn’t discolour the petals, and it can also be used as a protective coating.
If you aren’t able to press your own blooms but would like to try a project or two, there is a wide range of UK pressed flowers at daisyshop.co.uk – see bottom of page.
A version of this article was first published in the Herb Society Journal Herbs in September 2016.
Read more about pressed flowers on this blog
Shop for UK pressed flowers