Making pine cone decorations
My Christmas tree is arriving very soon, and I have started making some natural Christmas decorations to go on it.
How to make natural Christmas decorations using pine cones
This is a great way to spend an afternoon with kids as it involves paint and sticking – just supervise them as necessary! And it’s probably best to do the wiring for them.
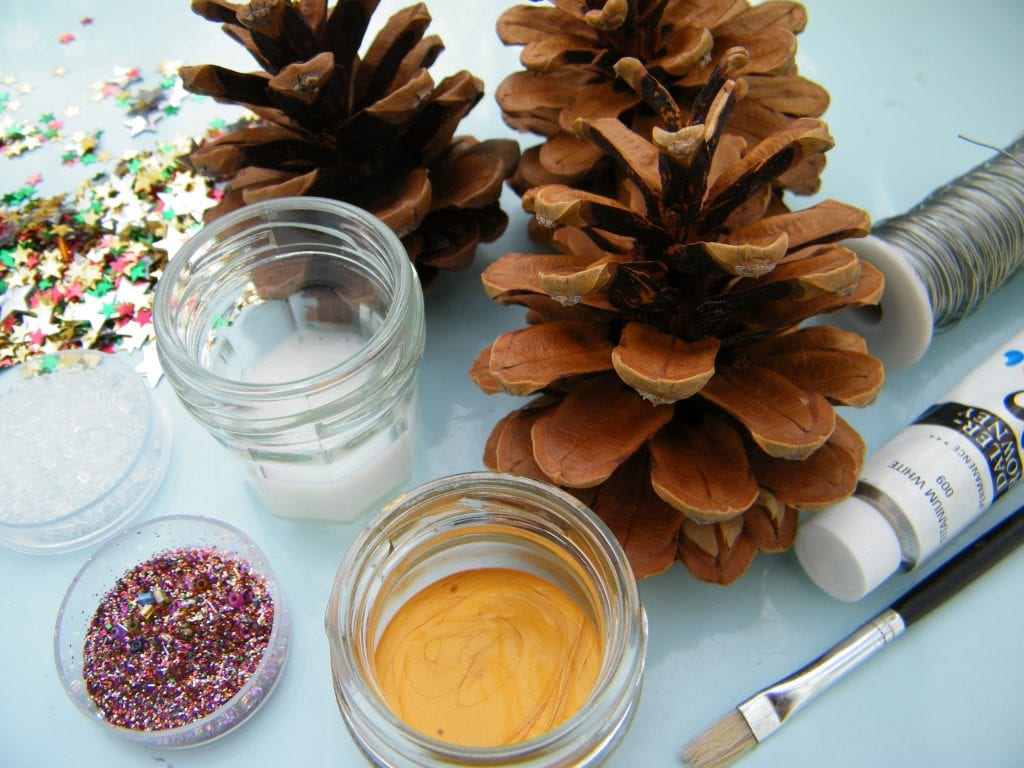
You will need:
- Natural pine cones – source them on a walk or buy online
- Gold and/or white paint
- PVA glue
- Positionable wire
- Glitter / sequins / small beads
- Paintbrush
- Paper – a large sheet to collect excess glitter
- Kitchen scissors to cut the wire
Method – Paint the pine cones
I painted only the tips of the cones and left them to dry.

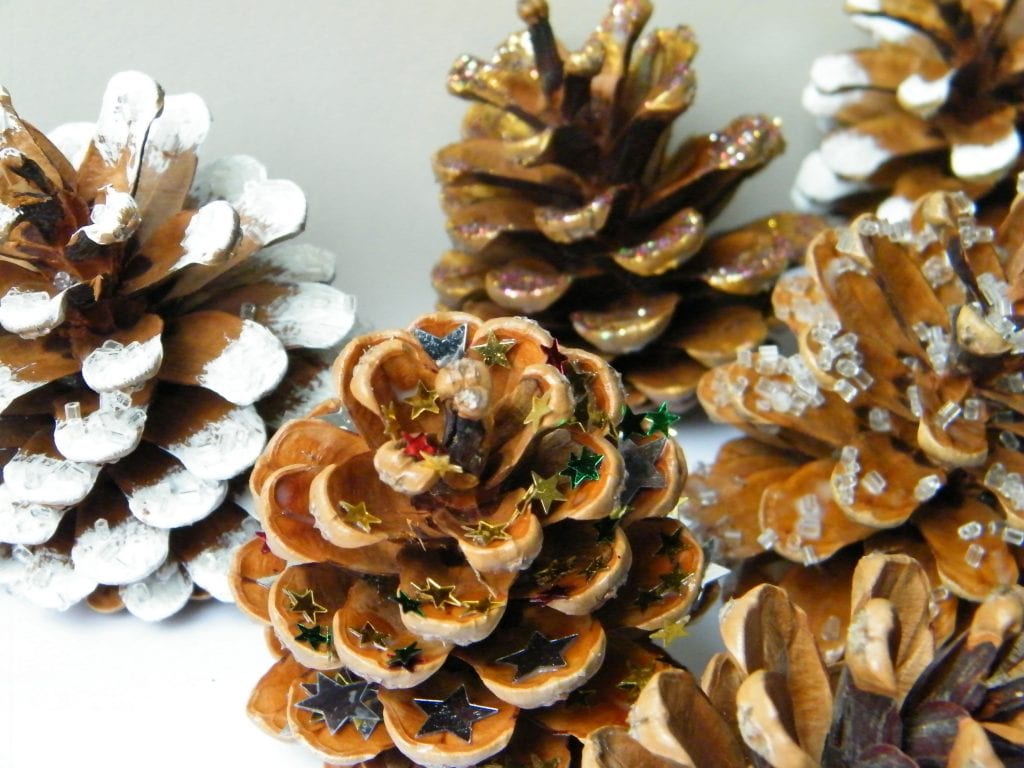
Decorate the pine cones
Paint the pine cones with the glue and stand on paper to apply sprinkles. Once you have sprinkled the beads/sequins/glitter over the cone, put it away somewhere to dry, and rescue the unused sprinkles back into the container.
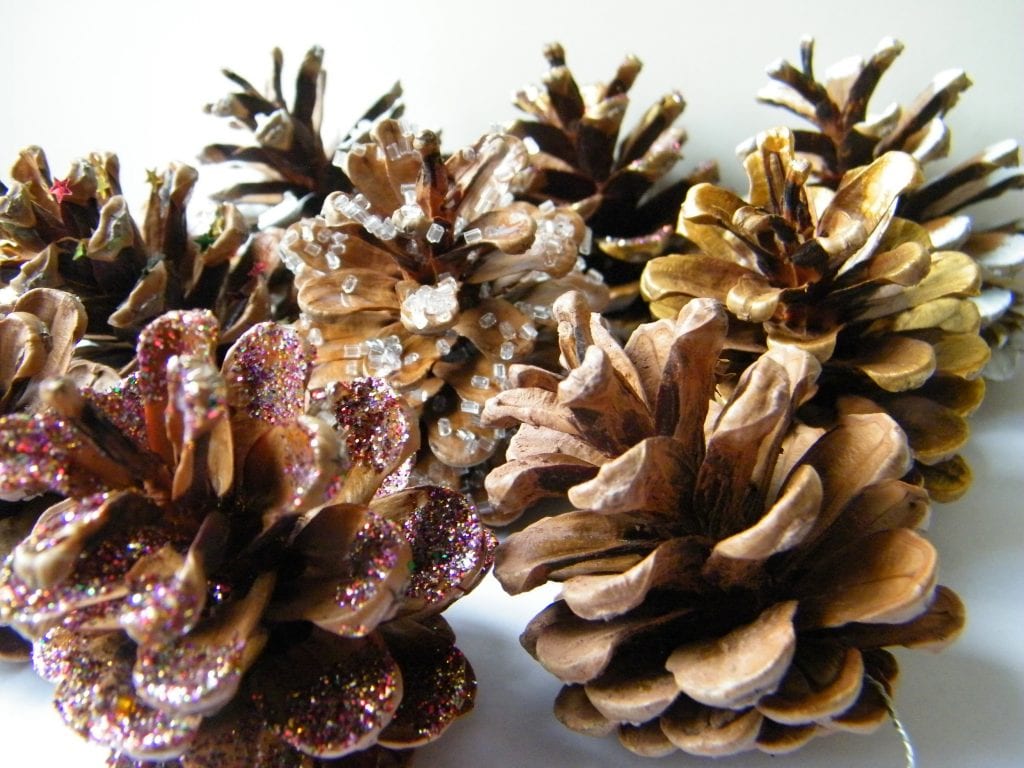
I like the pine cone on the left below because the small beads look like frost. The one on the right has star shaped sequins in Christmas colours. I also tried multicolour glitter.
You can choose whether to decorate natural or painted cones.

Wire up the pine cones
Take about 40cm wire and wrap it around the bottom of the cone. I used thin florists wire. Twist together, providing an arm which can be used to wrap around the Christmas tree branch (or onto a wreath or garland).
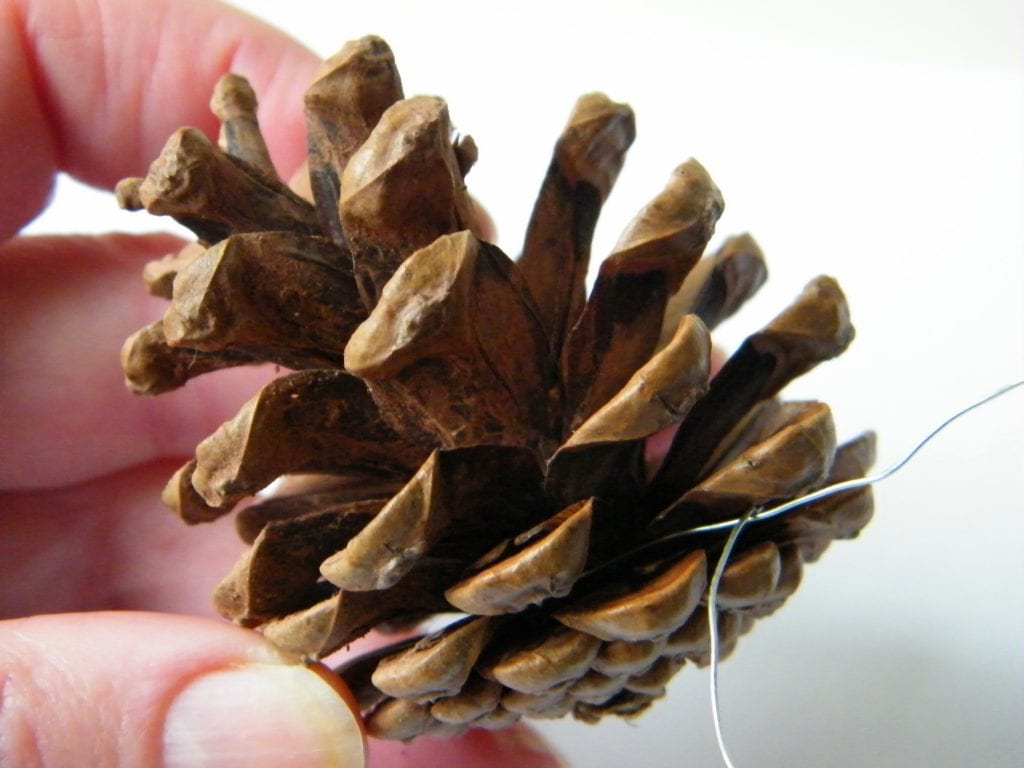
More on how I wire the pine cones and attach them to the tree in the next post – hopefully my Christmas tree will have arrived by then!
Shopping for pine cones
Large pine cones – these are about 7cm and come natural or ready painted.
Extra large natural pine cones up to about 10cm.
More natural Christmas decorations – related posts
Make cinnamon cones | Make a cinnamon bundle
Make a cinnamon garland | Natural Christmas decorations
Natural garlands | Natural wreaths
Simple orange slice Christmas decoration